
DIY Sensory Materials: My Guide to Creative Play Worlds
As a mother of two, I know that making your own sensory materials is a wonderful way to create simple , inexpensive , and, most importantly, safe play worlds for your child. Often, just a few ingredients from the kitchen, like flour and food coloring, are all you need to conjure up playdough, play sand, or colorful rice in no time – perfectly tailored to your child's preferences and ideal for children aged three and up.
Why homemade sensory materials are worth their weight in gold
As a mom of two whirlwinds, I experience every day how important it is to understand the world with all our senses. I still vividly remember one of those typical rainy afternoons when boredom simply became overwhelming. Instead of getting the next toy out of the box, we went into the kitchen and gathered flour, salt, oil, and a few drops of food coloring.
Within minutes we had a bowl full of soft, warm playdough that smelled much more intense and felt more alive than anything you could buy. My then four-year-old daughter was engrossed in it for hours, shaping little snails and fantastic figures.
It was at that very moment that it became clear to me again: Homemade sensory materials are so much more than just an activity. They are an invitation to discovery and a genuine shared experience.
More than just a game
When children knead, pour, or shape with sand, they are developing incredibly important skills almost without realizing it. Handling different textures and materials is crucial for a child's development, especially from the age of three . It not only promotes fine motor skills, but also:
- Tactile perception: Feeling rough, smooth, soft or grainy surfaces is pure training for the sense of touch.
- Creativity: There are no right or wrong answers here. A lump of modeling clay can be anything – a cake, a car, or a fantasy creature.
- Concentration: This deep, almost meditative game helps children to calm down and focus completely on one thing.
As the founder of Flowfull and a mother myself, my mission is to give children space for active and creative play. I firmly believe that the simplest materials often awaken the greatest imagination and create a deeper connection – between you and your child, but also between the child and their own creativity.
For families, daycare centers and therapists
The special charm of DIY sensory materials lies in their versatility and simplicity. You don't need expensive ingredients or special prior knowledge. This is precisely what makes them a valuable tool, not only for parents at home, but also for professionals in kindergartens or therapeutic settings.
The materials can easily be produced in larger quantities and individually adapted, for example for children with certain allergies.
If you'd like to learn more about the basics, you'll find a comprehensive article about the importance of sensory toys in our magazine. Here in this guide, I'll show you my favorite, tried-and-tested tutorials so you too can discover the joy of DIY.
The right foundation for your sensor workshop
Before we dive into the creative instructions, I want to put your mind at ease. When I want to spontaneously whip up something at home with my two children, it's invaluable to have a small basic set of supplies on hand. You'll be amazed how many of these treasures you already have in your kitchen or craft cupboard.
The idea is to assemble a kind of "sensory building kit." This allows you to be creative at any time without having to work through a long shopping list first. This makes making your own sensory materials a relaxed and enjoyable ritual.
To make getting started as easy as possible, I've put together a small overview of what has really proven itself as basic equipment for us.
Basic equipment for your DIY sensor projects
A clear list of the basic ingredients and useful tools you will need for most of the tutorials.
| category | material | Practical tips for selection and safety |
|---|---|---|
| Dry basic ingredients | Wheat flour (type 405), salt, cornstarch, baking powder, citric acid (powder) | Always use non-toxic, food-safe products. Keeping a separate supply of craft supplies will prevent shortages in the kitchen. |
| Liquid ingredients | Water, vegetable oil (e.g. rapeseed or sunflower oil) | The oil makes dough supple and also conditions the hands. Lukewarm water often dissolves salt and other ingredients better. |
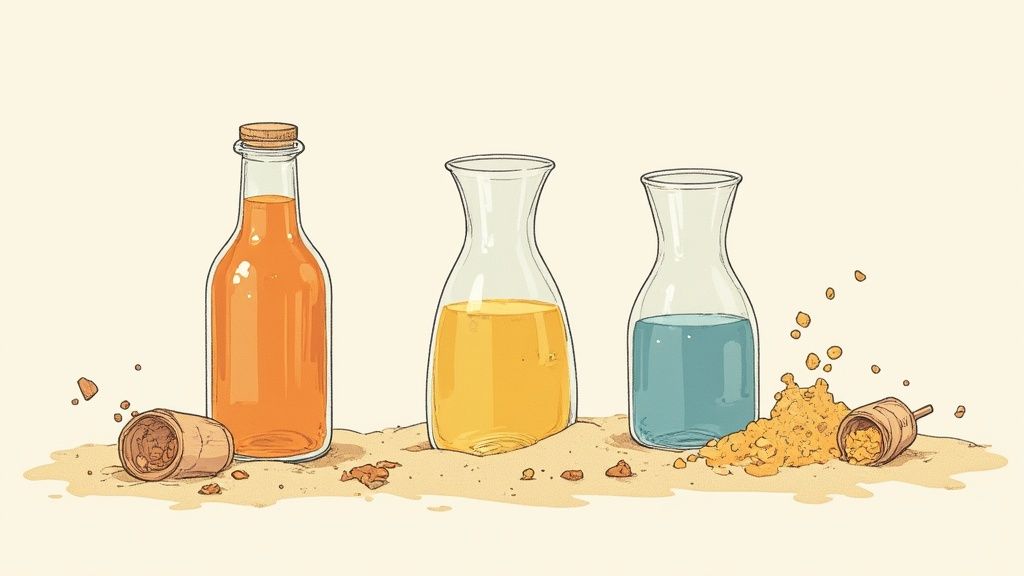
| Colors | Food colorings (liquid, gel or powder) | Absolutely safe, even if some does end up in the mouth. Gel colors are particularly economical and provide intense color tones. |
| Tools | Large mixing bowl, measuring cup and spoon, wooden spoon/scraper | Sturdy kitchen utensils are perfect. Special gadgets are often not necessary at all. |
| storage | Airtight containers, screw-top jars, reusable bags | Proper storage is essential to ensure your homemade treasures stay fresh and playable for a long time. |
With this well-organized basic equipment, you'll be perfectly prepared for most DIY projects. It forms the foundation on which we'll build our creative recipes.
Essential ingredients straight from the kitchen
The biggest advantage of homemade materials? You have complete control over the ingredients. This is an invaluable advantage, especially when making something for children aged three and older, because safety always comes first.
Most recipes are based on simple, non-toxic household ingredients. My personal "top 3," which we almost always use, are:
- Wheat flour (type 405): This is the perfect base for playdough or modeling clay. It results in a wonderfully smooth and supple consistency that children love.
- Salt: In modeling clay recipes, it acts as a natural preservative, ensuring that creations last longer. It also imparts an interesting, slightly grainy texture.
- Vegetable oil: A dash of simple sunflower or rapeseed oil makes playdough nice and soft and prevents it from sticking to your hands. A real miracle worker!
Besides these main ingredients, you'll often encounter cornstarch, baking powder, or citric acid in powder form. These ingredients alter the texture and shelf life and are also perfectly safe to use.
My tip from Mom's bag of tricks: Keep a large bag of flour and salt in the cupboard specifically for playtime. That way, you'll never be in the embarrassing situation of sacrificing the last bit for playdough when you actually wanted to make pancakes. Believe me, it's happened to me before!
Paint and tools for limitless creativity
Once the base is in place, comes the most fun part: the color! Here, I rely exclusively on food coloring . It's non-toxic and can be found in any supermarket – whether liquid, gel, or powder. Perfect for giving your materials vibrant hues.
To complete your sensory kit, you don't need much else. Simple kitchen utensils are often all you need. A large mixing bowl, measuring cups, a sturdy cooking spoon, and a few airtight containers for storage are usually sufficient.
This makes DIY a simple pleasure for the whole family or the group in kindergarten.
Tried and tested recipes for creative play materials
Okay, now things are getting colorful! After we got our little sensory workshop ready, I want to share my three absolute favorite recipes with you. These are the instructions that always bring sparkling eyes and hours of engrossed play to our house – and that goes for my two little whirlwinds.
I've tried each of these recipes countless times. They're safe for children aged three and up and can be made in a flash with everyday kitchen ingredients. I'll show you how to easily create colorful rice, velvety playdough, and fascinating moon sand.
Recipe 1: Colorful sensory rice for little explorer hands
Sensory rice is an absolute classic and the perfect starting point. It's incredibly versatile and wonderful for pouring games, filling containers, or as a base for imaginative miniature worlds. At our house, it sometimes becomes a jungle landscape for dinosaurs, and other times treasure in a pirate chest.
What you will need:
- 500g plain long grain rice (the cheapest is perfect)
- 1-2 teaspoons of vinegar or lemon juice as a binding agent
- A few drops of food coloring (gel colors are especially bright)
- A large, sealable freezer bag or a container with a lid
And it's that easy:
Put the rice, vinegar, and food coloring into the bag or container. Seal it tightly, and then comes the part the kids love: shake it vigorously! Why not make a little game out of it to see who can shake it the funniest? After about one to two minutes, the color should be evenly distributed.
Next, spread the colorful rice out on a baking sheet lined with parchment paper and let it air dry. This usually only takes an hour or two. Once it's completely dry, it will crumble beautifully through your fingers, and the slight vinegar smell will have disappeared.
My personal tip: Make different colors in separate bags and then pour everything into a large play tub. A rainbow rice bath is an incredible sensory experience and immediately invites play.
As you can see, the steps are usually really simple. This makes it the perfect activity that even the youngest children can easily help with.
Recipe 2: Velvety soft and non-toxic magic putty
There's hardly anything children love more than soft, pliable playdough. This recipe is our absolute favorite because the playdough becomes incredibly smooth and lasts for weeks when stored in an airtight container. A great alternative to store-bought products – because here you know exactly what's in it.
Ingredients for one large ball of playdough:
- 2 cups wheat flour (type 405)
- 1 cup of salt
- 2 tbsp vegetable oil
- 2 tsp citric acid powder (or cream of tartar baking powder for the same effect)
- 2 cups of boiling water
- Food coloring as desired
Preparation:
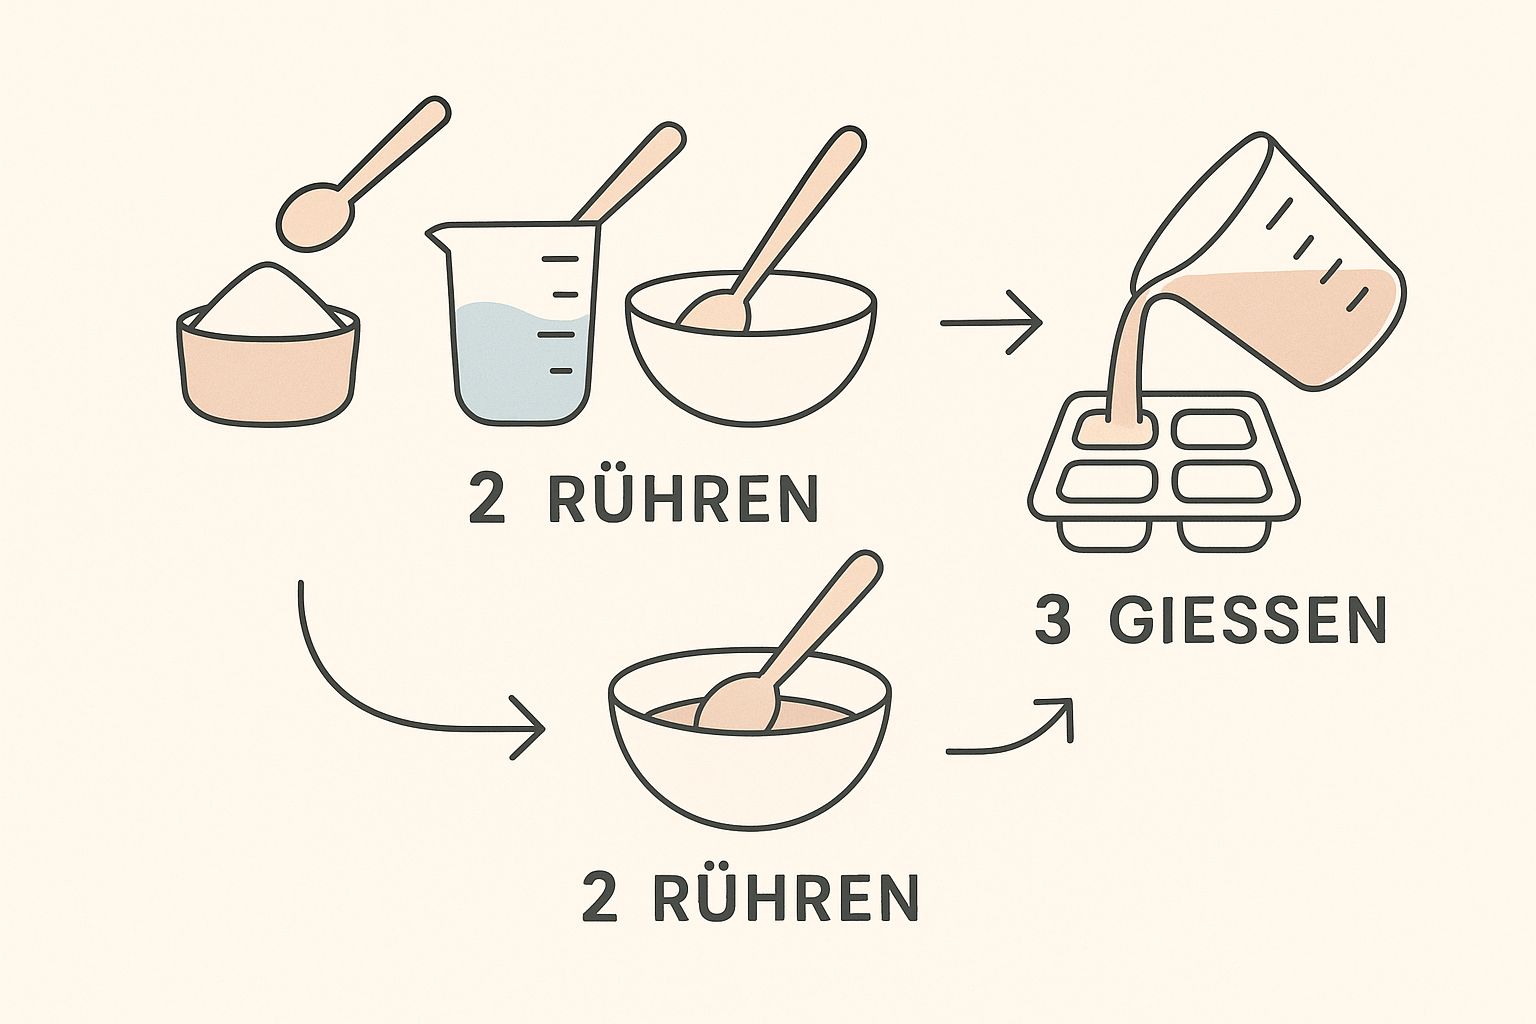
First, mix all the dry ingredients – flour, salt, and citric acid – in a large mixing bowl. Then add the oil and the boiling water. Be careful, the water is very hot, so an adult should do this step.
Now, stir everything vigorously with a sturdy wooden spoon or dough scraper until a thick ball forms. Let the mixture cool briefly, just enough to handle. Then, knead the dough thoroughly on a floured work surface for a few minutes until it is smooth and elastic.
To make colorful playdough, simply divide the dough into several pieces. Press a small indentation into each piece, add a few drops of food coloring, and knead well until the color is evenly distributed. A little tip: Wear gloves, otherwise you'll end up with colorful hands!
Recipe 3: Fascinating moon sand for magical moments
Moon sand, often also called cloud dough, is a truly magical material. It feels dry and silky, but like damp sand, it can be pressed into stable shapes. When pressed, it crumbles back into a fine powder. This property fascinates children and adults alike and is perfect for developing tactile perception.
You only need two ingredients:
- 8 cups of flour
- 1 cup of vegetable oil (baby oil also works and smells wonderful)
The production process is incredibly easy:
Pour the flour into a large tub or bowl. Slowly pour the oil over it and begin mixing everything with your hands. This is the best part! Knead and rub the mixture between your fingers until the oil is completely absorbed by the flour and a smooth, sandy consistency is achieved.
You can easily test whether the moon sand is ready: Take a handful and squeeze it firmly together. If a solid lump remains in your hand, it's perfect.
A few game ideas for the moon sand:
- Construction site in the children's room: Add small construction vehicles, shovels and molds.
- Treasure hunt: Hide small objects like glass nuggets or coins in the sand.
- Fine motor skills training: Cookie cutters can be used to bake great figures and "cookies".
While these simple materials promote motor skills, you can target them even more specifically with other projects. If you'd like to try something bigger, check out our instructions on how to build your own motor skills board .
Practical game ideas for everyday life
The very best thing about making your own sensory materials is that moment when everything is finished and the real fun can finally begin! Now you have a box full of colorful treasures – silky moon sand, vibrant rice, soft playdough. And now what?
As a mother of two whirlwinds, I know from experience: the best materials are useless without a brilliant play idea. That's why I want to share my personal treasure trove of inspiration with you and show you how you can easily and creatively integrate these homemade materials into your everyday life.
From material to imaginative play world
The real magic happens when you create a little story or a framework for the game. Instead of just putting out a tub of rice, you can create an entire world with just a few simple steps. This sparks the imagination and encourages storytelling, which also promotes language development.
Here are a few specific examples that are always well received at our house:
- Dinosaur Adventure: A few small dinosaur figures, maybe some stones from the garden – and suddenly green and brown rice transforms into a prehistoric world. The dinosaurs stomp through the rice jungle, searching for food or hiding in homemade caves.
- A miniature construction site: Yellow and black rice become the perfect construction site with small excavators and shovels. Children can transport the rice from point A to point B, dig holes, and fill them in again. A wonderful exercise for hand-eye coordination!
My mom tip: Combine different materials! Place a small bowl of water next to the moon sand tub. The children can then mix "concrete" or leave muddy tracks for their toy cars. This mixture of textures is a real feast for the senses.
Targeted support with modeling clay and moon sand
Homemade playdough is so much more than just a messy toy – it's a fantastic tool for developing fine motor skills. Our "playdough pizzeria" is a huge hit. Everyone gets a lump of dough and can "bake" their own pizza.
Rolling out the dough, covering it with small beads ("salami") or paper scraps ("cheese"), and cutting it with a blunt child's knife playfully trains fine motor skills. Such simple role-playing games are invaluable.
Even the fascinating moon sand can do more than just fill molds.
- Treasure hunt: Bury small, harmless objects like glass nuggets, large buttons, or seashells in the sand. Children can then use a spoon or their fingers to search for them. This greatly improves their sense of touch and concentration.
- Forming letters: For preschool children, it is a great exercise to draw letters or numbers in the compacted sand or to form them directly from the sand.
Suggestions for kindergarten and therapy
The versatility of DIY sensory materials makes them invaluable for professional use in daycare centers or therapeutic practices. Here, they can be used in a targeted way to support specific areas of development.
Sensory tubs are a great way to establish a regular station during free play in kindergartens. Changing themes and materials keeps the activity engaging and promotes social interaction when several children work together to create a landscape.
In occupational therapy, working with modeling clay or sand can be specifically used to promote tactile perception . Children who are sensitive to touch can gradually familiarize themselves with different textures. Kneading with resistance also strengthens hand muscles – an important preparation for holding a pencil.
Interestingly, the field of sensory materials is closely linked to medical technology, a key industry in Germany. Manufacturing materials with specific haptic properties requires considerable expertise. Of particular relevance is the fact that small and medium-sized enterprises (SMEs) with fewer than 250 employees account for approximately 79 percent of companies in this sector, even though a few larger players control the majority of revenue. If you would like to learn more about the structure of this fascinating industry, you can find further insights in this industry analysis of medical technology.
These ideas are just the beginning, of course. Observe your children, build on their interests, and don't be afraid to experiment. If you're looking for even more creative inspiration, check out our article on DIY sensory toys . Ultimately, it's all about creating a joyful and stimulating playtime.
Safety and storage tips for long-lasting gaming fun
As a mother of two kindergarteners, I know firsthand: creative chaos is wonderful, but safety always comes first. The biggest advantage of making our own sensory materials is that I know every single ingredient. However, especially with curious explorers aged three and up, there are a few important things to keep in mind to ensure safe and carefree playtime.
After the creative fun begins, the second important point is proper storage. With a few simple tricks, your homemade treasures will stay fresh and hygienic for a long time. This way, you create a play environment where everyone feels completely comfortable.
Safety comes first when playing
Even though our recipes are based on non-toxic food ingredients, they are of course not intended for eating. The age recommendation of three years and up is for good reason: most children of this age have largely moved beyond the oral phase, in which everything goes into their mouths. Nevertheless, our rule is always: play is supervised .
This doesn't mean you have to sit by like a hawk. But it's important to stay nearby to make sure nothing ends up in their mouths – especially with small items like sensory rice or pasta. The goal is to create a safe environment where children can experiment freely.
Keeping Allergies in Mind
Many of our recipes use wheat flour. But what if a child has a gluten intolerance? Luckily, that's no problem at all! Wheat flour can be easily substituted.
Practical alternatives for allergy sufferers:
- Rice flour: A great gluten-free option that produces a very fine, silky texture.
- Cornstarch: Perfect for the fascinating “Oobleck” slime or in combination with other flours.
- Chickpea flour: Provides an interesting, slightly yellowish color and a completely different feel.
Simply try out which alternative works best for your favorite recipe. Sometimes you need to adjust the amount of liquid slightly, but you'll quickly get the hang of it.
Proper storage for long shelf life
Nothing is more frustrating than lovingly made playdough that's hard and crumbly after two days. But with proper storage, you can significantly extend the lifespan of your materials. Here are my tried-and-tested methods that have proven successful at home and in everyday kindergarten life:
- Modeling clay and moon sand: These materials dry out quickly in the air. Therefore, always store them in airtight containers . Tightly sealing tins or jars with screw-top lids are ideal. A little extra trick for modeling clay: Wrap it in cling film before storing it.
- Dyed rice and similar items: With dry materials, it's especially important to protect them from moisture. Here too, sealable containers or bags are the best choice. Just make sure the rice is completely dry after dyeing before storing it to prevent mold.
My tip for storing salt dough in the refrigerator: I always keep our salt dough in the refrigerator. The cold further inhibits bacterial growth and often keeps the dough fresh and pliable for several weeks.
When is it time to separate?
Homemade materials are natural products without artificial preservatives. Eventually, their time simply comes to an end. It's best to rely on your senses to recognize when something should be disposed of.
Watch out for these signs:
- A musty or unpleasant smell.
- Visible discoloration or mold spots.
- A sticky, greasy, or extremely crumbly consistency that cannot be salvaged even by kneading.
Even in high-tech fields like quantum sensors, materials manufacturing is a science in itself. The German government invests approximately 100 to 150 million euros annually in research in this area. These developments demonstrate the high standards of material purity and durability that are technically achievable. Those wishing to delve deeper can learn more about Germany's pioneering role in the photonics industry here.
For our everyday play, however, the simple rule applies: If you're unsure, it's better to dispose of the material and mix a fresh batch. Safety and hygiene always come first.
Your most frequently asked questions about DIY sensory materials
As a mom and founder, I naturally get a lot of questions from other parents, as well as educators and therapists. Making your own sensory materials sparks a lot of enthusiasm, but understandably, it also brings with it some uncertainty. That's why I've compiled the questions I get most often and answered them based on my own personal experience.
I hope these answers give you peace of mind and clear up any remaining doubts. Then you can start your own little creative workshop without a care in the world!
At what age are these DIY materials truly safe?
This is probably the most important question of all. My recipes and the play ideas I develop are specifically designed for children from about three years old . The reason is simple: at this age, most children have largely left behind the oral phase, in which everything is explored with the mouth. This makes playing significantly safer.
Of course, with materials like colorful sensory rice, it's still important that your child doesn't put small parts in their mouth. For younger children, I would therefore always opt for completely edible alternatives and supervise playtime at all times . This way, any risk can be avoided.
My golden rule: You know your child best. Observe them and decide individually what is right for their current developmental stage. Playing together, with guidance, is always the safest and most enjoyable option anyway.
Are there flour-free alternatives for children with gluten intolerance?
Yes, absolutely! And that's precisely one of the huge advantages of making it yourself: you have complete control over the ingredients and can perfectly adapt everything to your child's needs. So if wheat flour is out, there are some great flour-free alternatives.
- Instead of wheat flour, gluten-free flour mixes , cornstarch or rice flour often work great.
- A wonderfully soft playdough that feels great can be made from cornstarch and hair conditioner. But be careful: this is of course not intended for children who are still experimenting with things.
- An absolutely safe, edible option for all ages is "Oobleck" – this fascinating mud mixture made from cornstarch and water.
My tip: Just try it with a small amount and find out which consistency you and your child like best.
How long do the homemade materials last?
Shelf life naturally depends heavily on the recipe and storage conditions. Our much-loved salt dough, for example, often keeps for several weeks in an airtight container in the refrigerator. Dry materials like our colored rice or the magical moon sand are practically indefinitely shelf-stable when stored in a dry place.
I've made it a habit to do a quick sensory check before every game: Does the material smell strange, has it changed color, or do you perhaps even spot mold? Then it's definitely time to throw it away and quickly mix up a fresh batch.
What is the best way to clean the toy and the play area?
A relaxing game ends best with as little cleanup stress as possible. My tried-and-tested trick: I always put a large, wipeable tablecloth or an old bed sheet under the play tub. That catches most of the spills.
After playing, a vacuum cleaner is often sufficient for dry materials like rice or sand. Play-Doh residue is best removed from clothing or carpets when completely dry – then it can simply be brushed off. Finally, hands and used plastic toys can be washed with soap and water. Done!
If you'd like to further enhance your children's creative and sensory play, but don't always want to or can't make everything yourself, then take a look at Flowfull . Our products, like the Flowfull® Sensory Boxes, are designed to create a safe and stimulating play environment that grows with your children's needs. Discover sustainable and thoughtfully designed play worlds at https://flowfull.de .